How
to Navigate Blackboard
A step-by-step guide for
using some
of the major functions of Blackboard Academic SuiteTM
How
to Login to your account
Ø
After
opening up your web browser, go to https://courseweb.library.upenn.edu.*
* It
might be useful
for you to bookmark the site, for ease and speed. To
bookmark a site, when you are on the page
you want, go to the “Bookmarks” key on the toolbar, and choose
“Bookmark This
Page”.
Ø
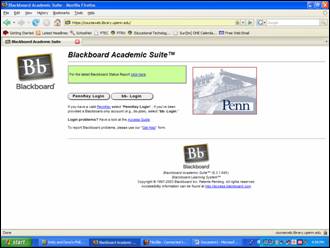
On
this page, you will see two login buttons.
One is for use if you have a PennKey Login, and one is for if
you have a
Blackboard Login. Penn students will
most likely be logging in using the PennKey Login.
Ø
Click
on the appropriate button.
Ø
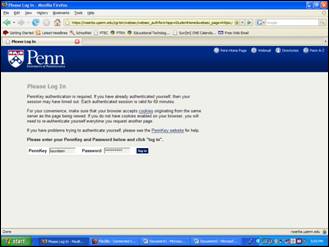
You
will see a field for filling in your username (or PennKey) and your
password.
Ø
Carefully
type in your username (or PennKey) and your password.
Remember, passwords are ALWAYS case
sensitive! Then click the “login”
button.
Ø
If
you have logged in correctly, wait for the Blackboard site to load your
page,
and then you’re ready to roll!
Your Course Page
Once you have
successfully logged into your Blackboard
account, you will see a page that lists various basic information, such
as the
courses in which you are enrolled and any announcements that have been
made. Think of this as your “table of
contents” for your Blackboard account.
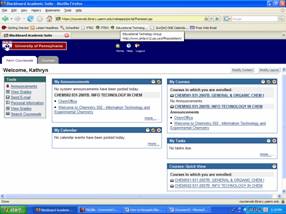
You can configure this
page to suit your needs. In addition,
there are several basic,
non-specific tasks that can be completed from this page.
Let’s look at how to
configure your Course Page, and how to
perform some of these other basic tasks.
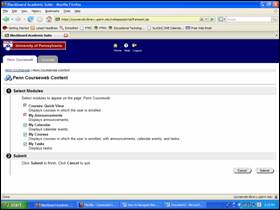
Configuring your Course Page Content
Ø
In
order to change the content that
appears on your Course Page, click the button marked, “Modify Content”.
Ø
On
this page, red checkmarks indicated content that you CANNOT remove. Green checkmarks indicate content that you
CAN remove. If you wish to remove any of
the green checkmarked items, click on the checkmark.
Ø
After
you have made your selections, click the “Submit” button.
Ø
If,
after removing content, you ever wish to add the content back to your
Course
Page, simply return to the “Modify Content” page, and click on the
empty box
next to the content that you wish to add back into your Course Page.
Ø
A
green checkmark will appear next to the content. Again,
after you have made your selections,
click the “Submit” button.
Configuring your Course Page Layout
Ø
In
order to change the appearance of
your Course Page, click the button marked, “Modify Layout”.
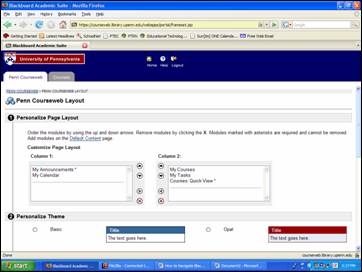
Ø
To
change the column in which an item appears on your Course Page, click
on the
item, then click the arrow that points to the other column. For instance, if you wanted to move an item
from Column 1 to Column 2, you would click on that item, then click on
the
arrow that points to the right, towards the Column 2 box.
Ø
This
action will move that item to the box for the other column.
Ø
In
order to move an item up or down in the same column, click on the item
that you
wish to move, then click on the arrows that point up and point down,
until the
item is in the location you desire.
Ø
You
can also choose to change the color scheme of your Course Page.
Ø
To
do this, scroll down on the “Modify Layout” page, and click the circle
next to
the color scheme which you like the best.
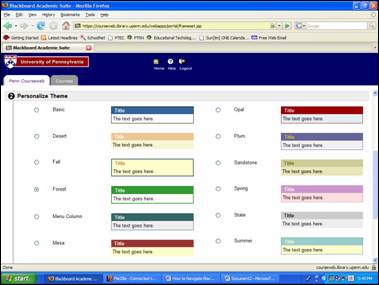
Ø
Remember
to always click the “Submit” button once you are finished making your
changes!
Some Basic Course Functions
There are many things
that you can do using Blackboard. The ones
you will use the most often are
attached to each individual course, we will set aside a bulk of the
Blackboard
functions and look at the items that you will most often use for each
course,
the Announcements page, your Course Documents list, the Assignments
list, and
the Discussion Board. The Dropbox
function will be discussed in your instructions for how to upload
documents.
Ø
To
access any of these things, click on the relevant course from your
Course
Page. This will send you to the page
specifically for that course.
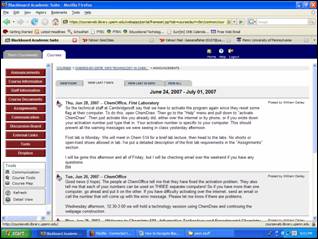
Ø
The
first thing that you will see are the announcements for that course. Across the top of the announcements, you will
see buttons that you can click that will lead you to older
announcements.
Ø
Along
the left-hand side of the screen you will see the buttons for the
various links
for this course. To access a list of any
documents that have been posted for the course (syllabi, manuals,
etc.), click
“Course Documents”. For homework and
other coursework, click “Assignments”.
Clicking on either of these will bring up a list of
documents/assignments. You can then
click on each individual entry to get further information, or to access
any
attached documents.
Ø
To
participate in the Discussion Board, click the “Discussion Board”
button. Your professor will have set up
different
Discussion Boards to help organize threads (areas of
conversation/discussion). For instance,
Professor Dailey chose to set up forums for General, Laboratory, and
Electronic
Resources. To access each forum, just
click on its name.
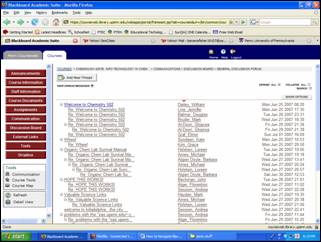
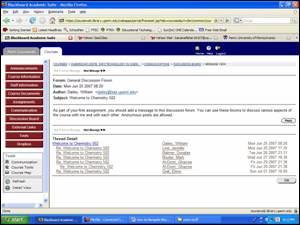
Ø
Once
you have clicked on a forum, you will see a list of all the threads and
messages in that forum. You can collapse
or expand thread lists by clicking the plus/minus sign next to each
thread. To read a message, simply click
on the subject for that message. If you
wish to post a response, click “Reply”, type in your message, and click
the
“Submit” button. If you wish to add an
attachment, browse and open the attachment, as you would to attach a
document
to an email message.
Ø
Your
reply will appear on the list as an indented subject under the main
thread.
Ø
To
get back to the main discussion page once you are finished reading the
messages
for that thread, click “OK”.
Ø
If
you wish to start a new thread, click the “Add New Thread” button on
the main
discussion page. Type in a subject and
your message, and click the “Submit” button, just as you would a reply
to
someone else’s message. Your message
will appear as a new thread in the discussion list.
Ø
In
the list, if you have read the message the subject will appear in red. If you have not read the message it will
appear in blue.
|
|